Table of Contents
Microsoft Entra (formerly Azure AD) - SSO Configuration
Configuring LinearB to connect with Microsoft Entra SSO consists of 2 main parts: Create and setup Enterprise Application in Microsoft Entra. Setup SSO integration in LinearB. Prerequisites. Microsof…

Configuring LinearB to connect with Microsoft Entra SSO consists of 2 main parts:
Prerequisites
- Microsoft Entra Admin privileges
- LinearB Admin privileges
We recommend having both applications open in your browser tabs.
Create New Enterprise Application in Microsoft Entra
Go to your Azure portal and sign in using your admin credentials. Browse to Azure Active Directory > Enterprise applications.
Creating the Enterprise Application:
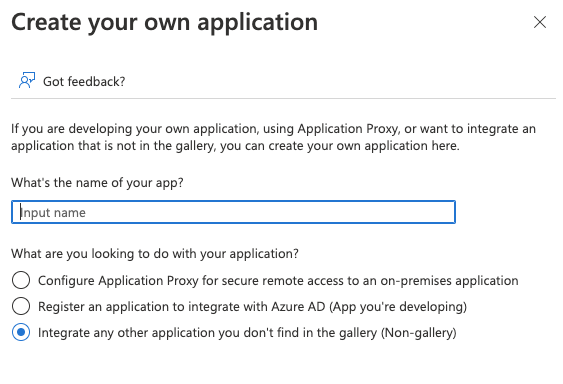
- Click on "Create your own Application"
- Name the application (we recommend "LinearB") and make sure to select the option to "Integrate any other application you don't find in the gallery (Non-gallery)". Then, select "create".
Configure The Enterprise Application
Complete the following steps to configure your application:
Assign Users To The Enterprise Application
Click on " assign users and groups" to add your relevant users and groups who will have access to LinearB.
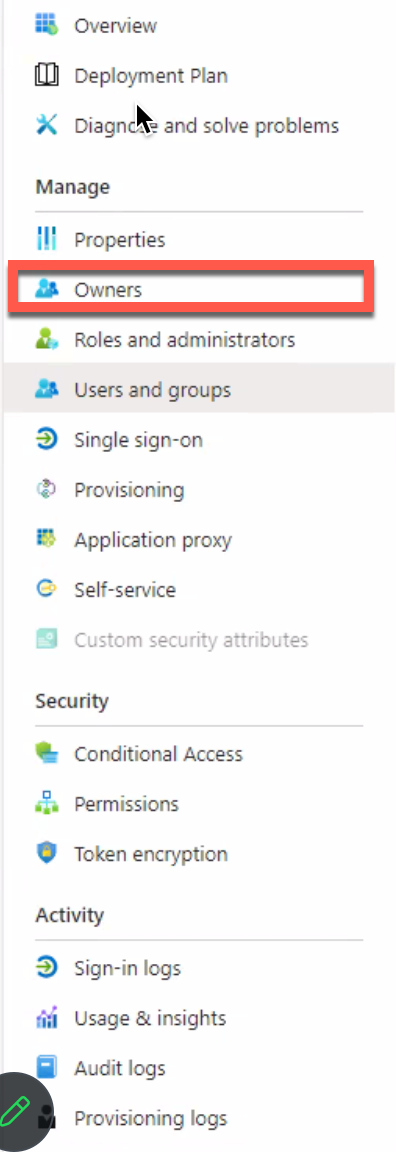
Configure Owner for the Enterprise Application
Make sure that the LinearB user that will be logging into LinearB to set up the SSO connection in LinearB is included.
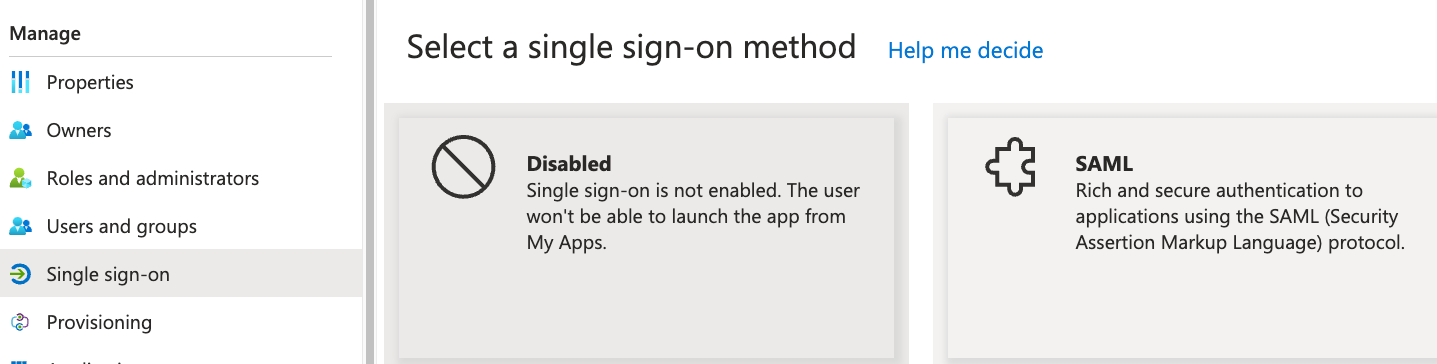
Configure Single Sign-on Settings
Click on the "Single Sign-On" link, and select SAML
Click on edit:
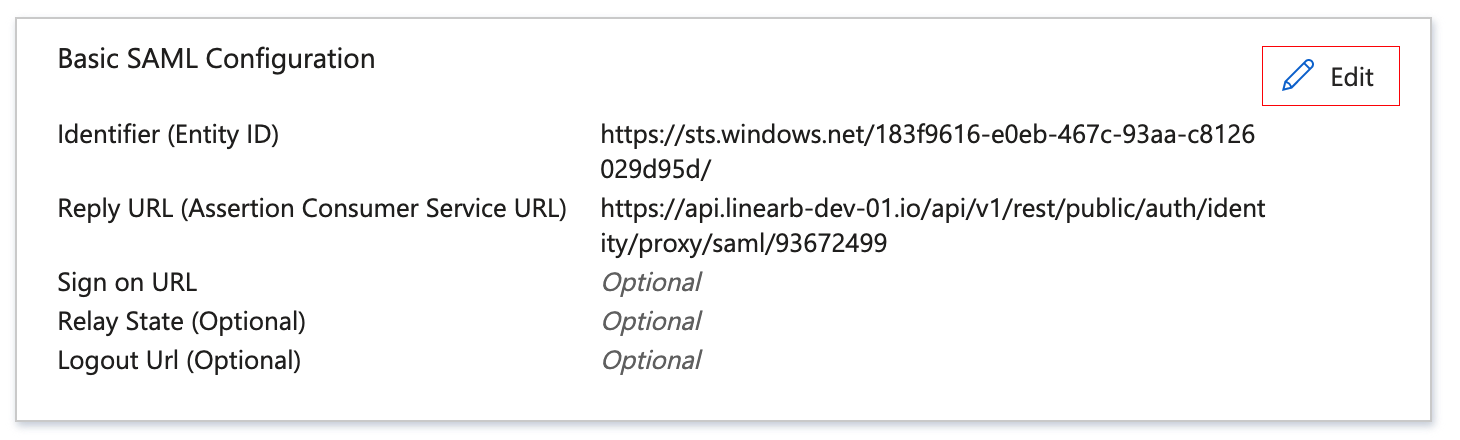
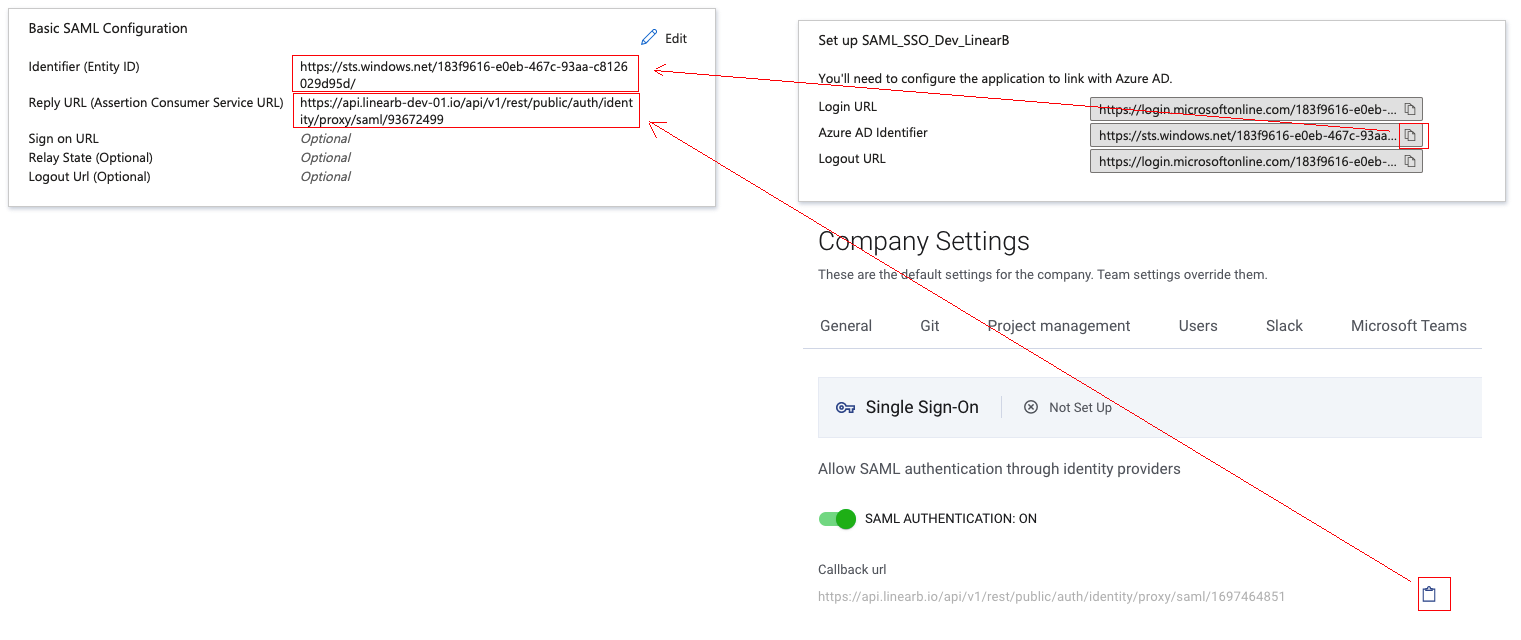
- Paste the Microsoft Entra identifier in the Azure Identifier (Entity ID) input
- Go to the LinearB application -> Settings -> Single Sign On, switch on “SAML Authentication” and copy the Callback URL value
- Paste the callback URL from the LinearB SSO configuration into the Azure Reply URL input
- Click Save in Microsoft Entra
Setup SSO Integration in LinearB
Go to LinearB application -> Settings -> Single Sign On. You'll complete the Provider Single Sign-on URL, Provider Issuer, and Certificate fields by following the instructions below.
Provider single sign-on URL
To build this URL, you'll need the following information from Azure:
- Azure Tenant ID (follow these instructions to access your Tenant ID)
- Application ID for the LinearB application you configured previously
In order to get the Application ID, open the LinearB SSO application in Azure and go to the application Properties. You should see an Application ID:

Generate the Provider SSO URL by adding those two values to this URL: https://login.microsoftonline.com/<AZURE_TENANT_ID>/saml2/<APPLICATION_ID>
Paste that completed URL into the LinearB Provider single sign-on URL field.
Provider issuer
In Azure, copy your Azure AD Identifier from your SSO application and paste it into the LinearB Provider issuer field. The URL must be a fully qualified URL ( https://sts.windows.net[....]/), like so:

Some Microsoft Entra environments use a federation metadata URL as the Provider issuer.
If the standard https://sts.windows.net/<AZURE_TENANT_ID>/ issuer does not work in your environment, use the following format:
https://login.microsoftonline.com/<AZURE_TENANT_ID>/federationmetadata/2007-06/federationmetadata.xml?appid=<APPLICATION_ID>
Certificate
Download the certificate from your Azure SSO application in Base64 format. Paste the certificate content into the Certificate input. Make sure to include the BEGIN and END delimiters.
  -----BEGIN CERTIFICATE-----
XXX certificate goes here XXX
XXXXX and here too XXXXXXXXXX
-----END CERTIFICATE-----
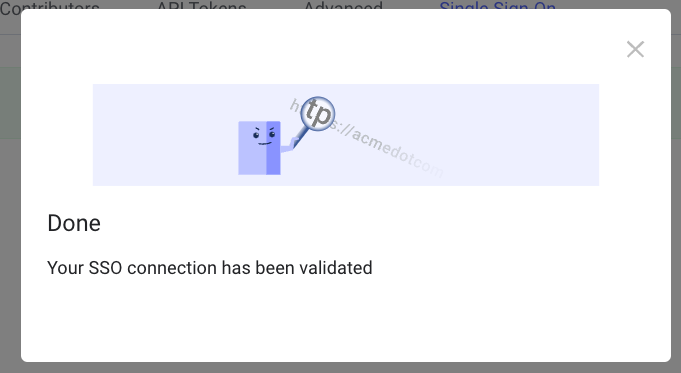
Once these three fields have been filled, CLICK SAVE. LinearB will run a test connection and if it successfully connects, you should see the below screen.
How did we do?